Table of Contents
It’s officially Spring! The growing season is upon us! Whether you are growing in northern latitudes and have time until warmer weather arrives, or in southern latitudes and can plant in the ground sooner, it is still important to know how to start your seeds properly if you chose to start your seeds indoors. Starting seeds indoors is an investment of time and resources, so follow these steps to ensure a successful return on your investment with happy and healthy plants.
Cool season crops are a great group of plants to start first, seeing as though they will get transplanted into the garden before the warmer season crops. Cool-season crops can tolerate cooler ambient temperatures and soil temperatures. These crops are not usually harvested in the high heat of summer like warm season crops are. In the video below, Lettuce Sonora will be seeded, but I also seeded Collard Greens Top Bunch 2.0, Parsley Krausa Organic, and Onion Candy for further trialing.
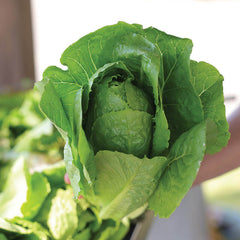
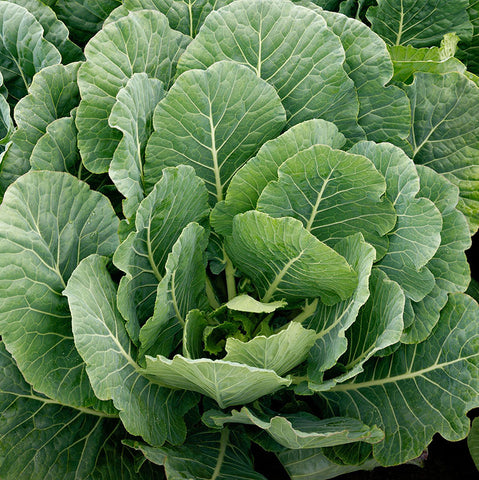

Pictured above: Lettuce Sonora, Collard Greens Top Bunch 2.0, Parsley Krausa Organic
Step One: Seeding Materials
Potting Mix Ingredients
Just like cake recipes, a potting mix can be a recipe of ingredients or pre-bagged ready to plant. It really comes down to gardener preference and what works for them. For this exercise, a potting mix has been created from seven different organic ingredients. The details of this recipe will not be covered in this blog post, but it is important to highlight that two of the ingredients, coco coir and rice hulls, are the foundation of the mix and the other ingredients add organic nutrients and biology.
If putting together a recipe, it is best to mix and saturate the mix one to three days before seeding. If you are using a readymade potting mix, then you will skip to the first step of putting your soil into a large bin and saturating the potting mix before it goes into your seedling trays.
Filling Your Trays
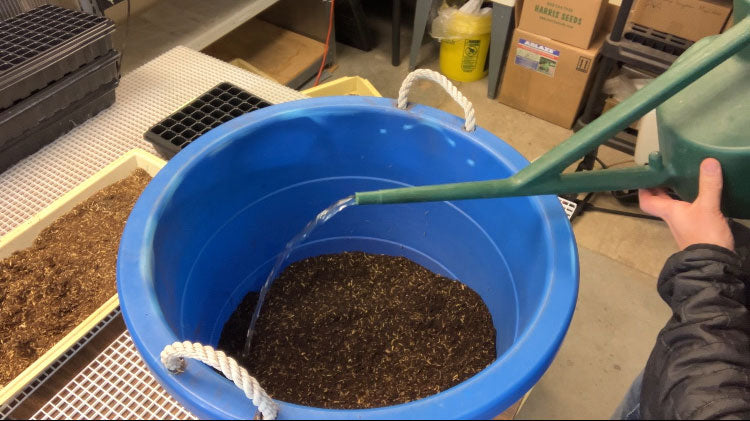
Before you fill the seedling trays with your mix, make sure your mix is properly saturated by slowly adding water as you mix and stir your potting mix. This is still important for bagged potting mix. If you are seeding several trays with a large amount of mix, add a gallon of water at a time as you stir. Use half a gallon of water if you are seeding only a few trays. A good test to see when you have reached 100% saturation is squeezing a handful of mix and one to two drops of water leaves your hand.
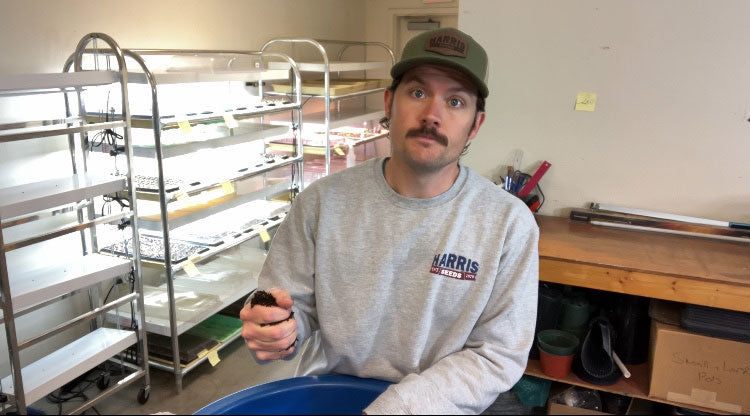
At this point you are ready to fill your tray. To make ergonomics a focal point, your bin of potting mix should be up at waist height. Place your tray inside your bin and fill the tray with the saturated mix in each cell, tamping down the mix into each cell so the mix is firm. Do not fill the tray cells to the top, you will save that space for dry mix after seeding. The cells of the seedling tray refer to the holes where the seed goes into.
Common cell tray numbers include 50, 72, 128, 188, and 200. The trays that are being used for this purpose is 128-cell tray. Plants that stay small in seedling stage (between weeks 1-4) can work well in smaller cell diameters – 128, 188, and 200 cell trays. These plants can include plants in the onion family, carrot family, kale family, and lettuce families. Plants like tomato, pepper, and squash require larger cell diameter – 50 and 72.
Step Two: Seeding
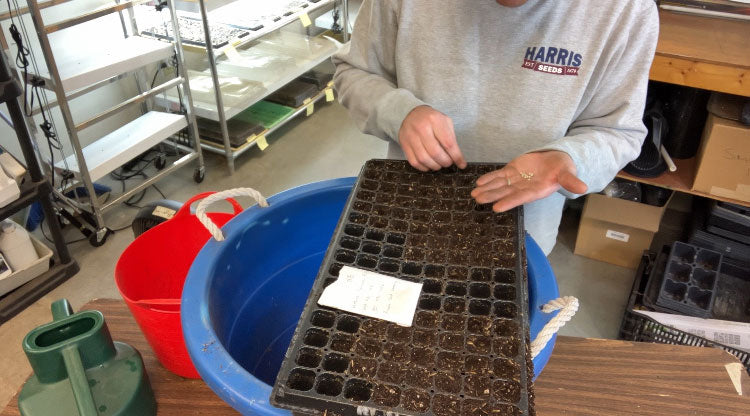
Dibble the Trays
Dibble? What does that even mean? Dibbling is a fantastic word that means to make small holes, and in this case, you will dibble holes in your trays for your seeds to go into. Objects like a pen or screwdriver, can suffice if starting only a few trays. More effective tools like a seed tray dibbler, roller dibbler, or even a vacuum seeder is useful when seeding several if not hundreds of trays.
Seeding
Ease of seeding comes down to the size of seed. If the seed is very small, then seeding is more difficult and will require patience. Pouring an appropriate number of seed in your palm or small plate and then using a tool like tweezers to place the small seed into the holes you dibbled. When seed is small, it is okay that 2-3 seeds go into the hole by accident, or on purpose. Smaller seed may come packaged as pelleted seed. This method done is by coating the small seed with an organic material like clay to make the seed larger and easier to use.
Seeding tools can be used to make this step more efficient, such as the handheld vacuum seeder, a dial seeder, and the Vibro hand seeder. You can find these hand seeders here. Close the hole on top of the seed after you have finished the tray or as you go.
Dry Potting Mix
After seeds are in the holes are closed, grab a handful of dry potting mix to top off the seedling tray, filling each cell to the top.
Step Three: Labeling
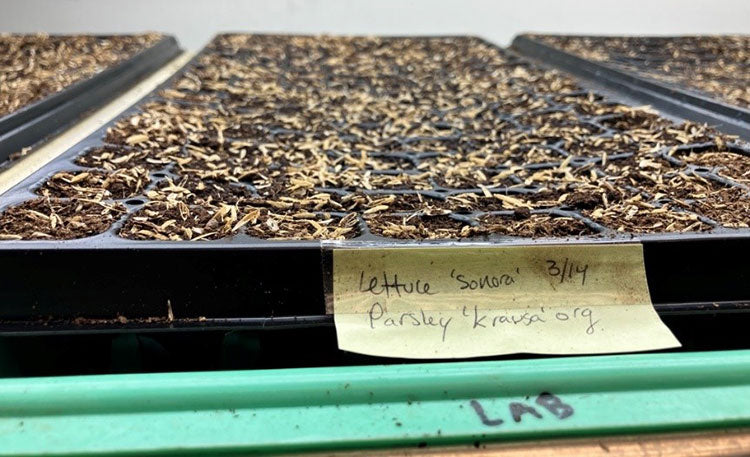
The last step to seeding is to label your tray with an appropriate label that keeps important information about the seeds you just seeded. Not everyone needs to label each tray, but in case you need to or want to, here are some important variables to label: the plant name, variety, and the date it was sown into the tray. Adding more variables are helpful for larger growing operations to keep trays organized according to a crop plan, garden layout, and quality control.
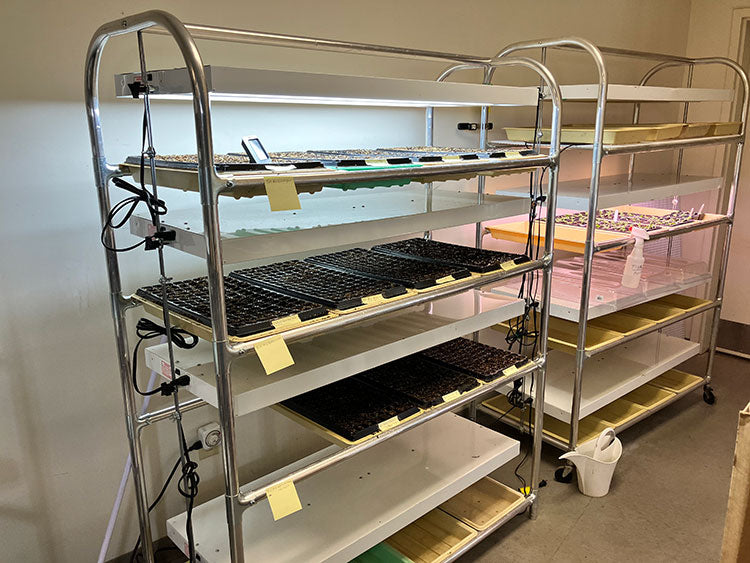
Harris Seeds carries helpful plant labels as well as other items to help your labeling process become more organized. Things like tape, sticky notes, popsicle sticks, or a combination of all three can work. Note that with smaller diameter cell trays, like the 128 cell trays pictured below, labeling sticks are not effective and will disturb the seed. A combination of tape and sticky notes will be used on the seedling rack.
Your tray, or trays, is ready to be placed on your seeding table or on a seedling rack for supplemental lighting. Dialing in the right environmental factors for your seed tray to thrive will be explained in the next blog post. Things like when and how to water, humidity, moisture, and light will be discussed.
Thank you, and for everyone at Harris Seeds, happy planting!

Drew Hundelt
Product Manager & Content Specialist
Since stepping foot on his first urban farm in 2012, Drew found a passion that would eventually lead him here at Harris Seeds, Garden Trends Inc. Growing in multiple environments ranging from western New York to the bay area of California, and many environments in between, Drew has been and continues to build food production systems that yields food and community. Drew’s favorite projects so far in his career include carrying out a 12-acre trial of regenerative winter wheat production in western Pennsylvania and creating a horticultural program with three acres of market gardens, food forests, and greenhouses in the urban landscapes of Denver.


